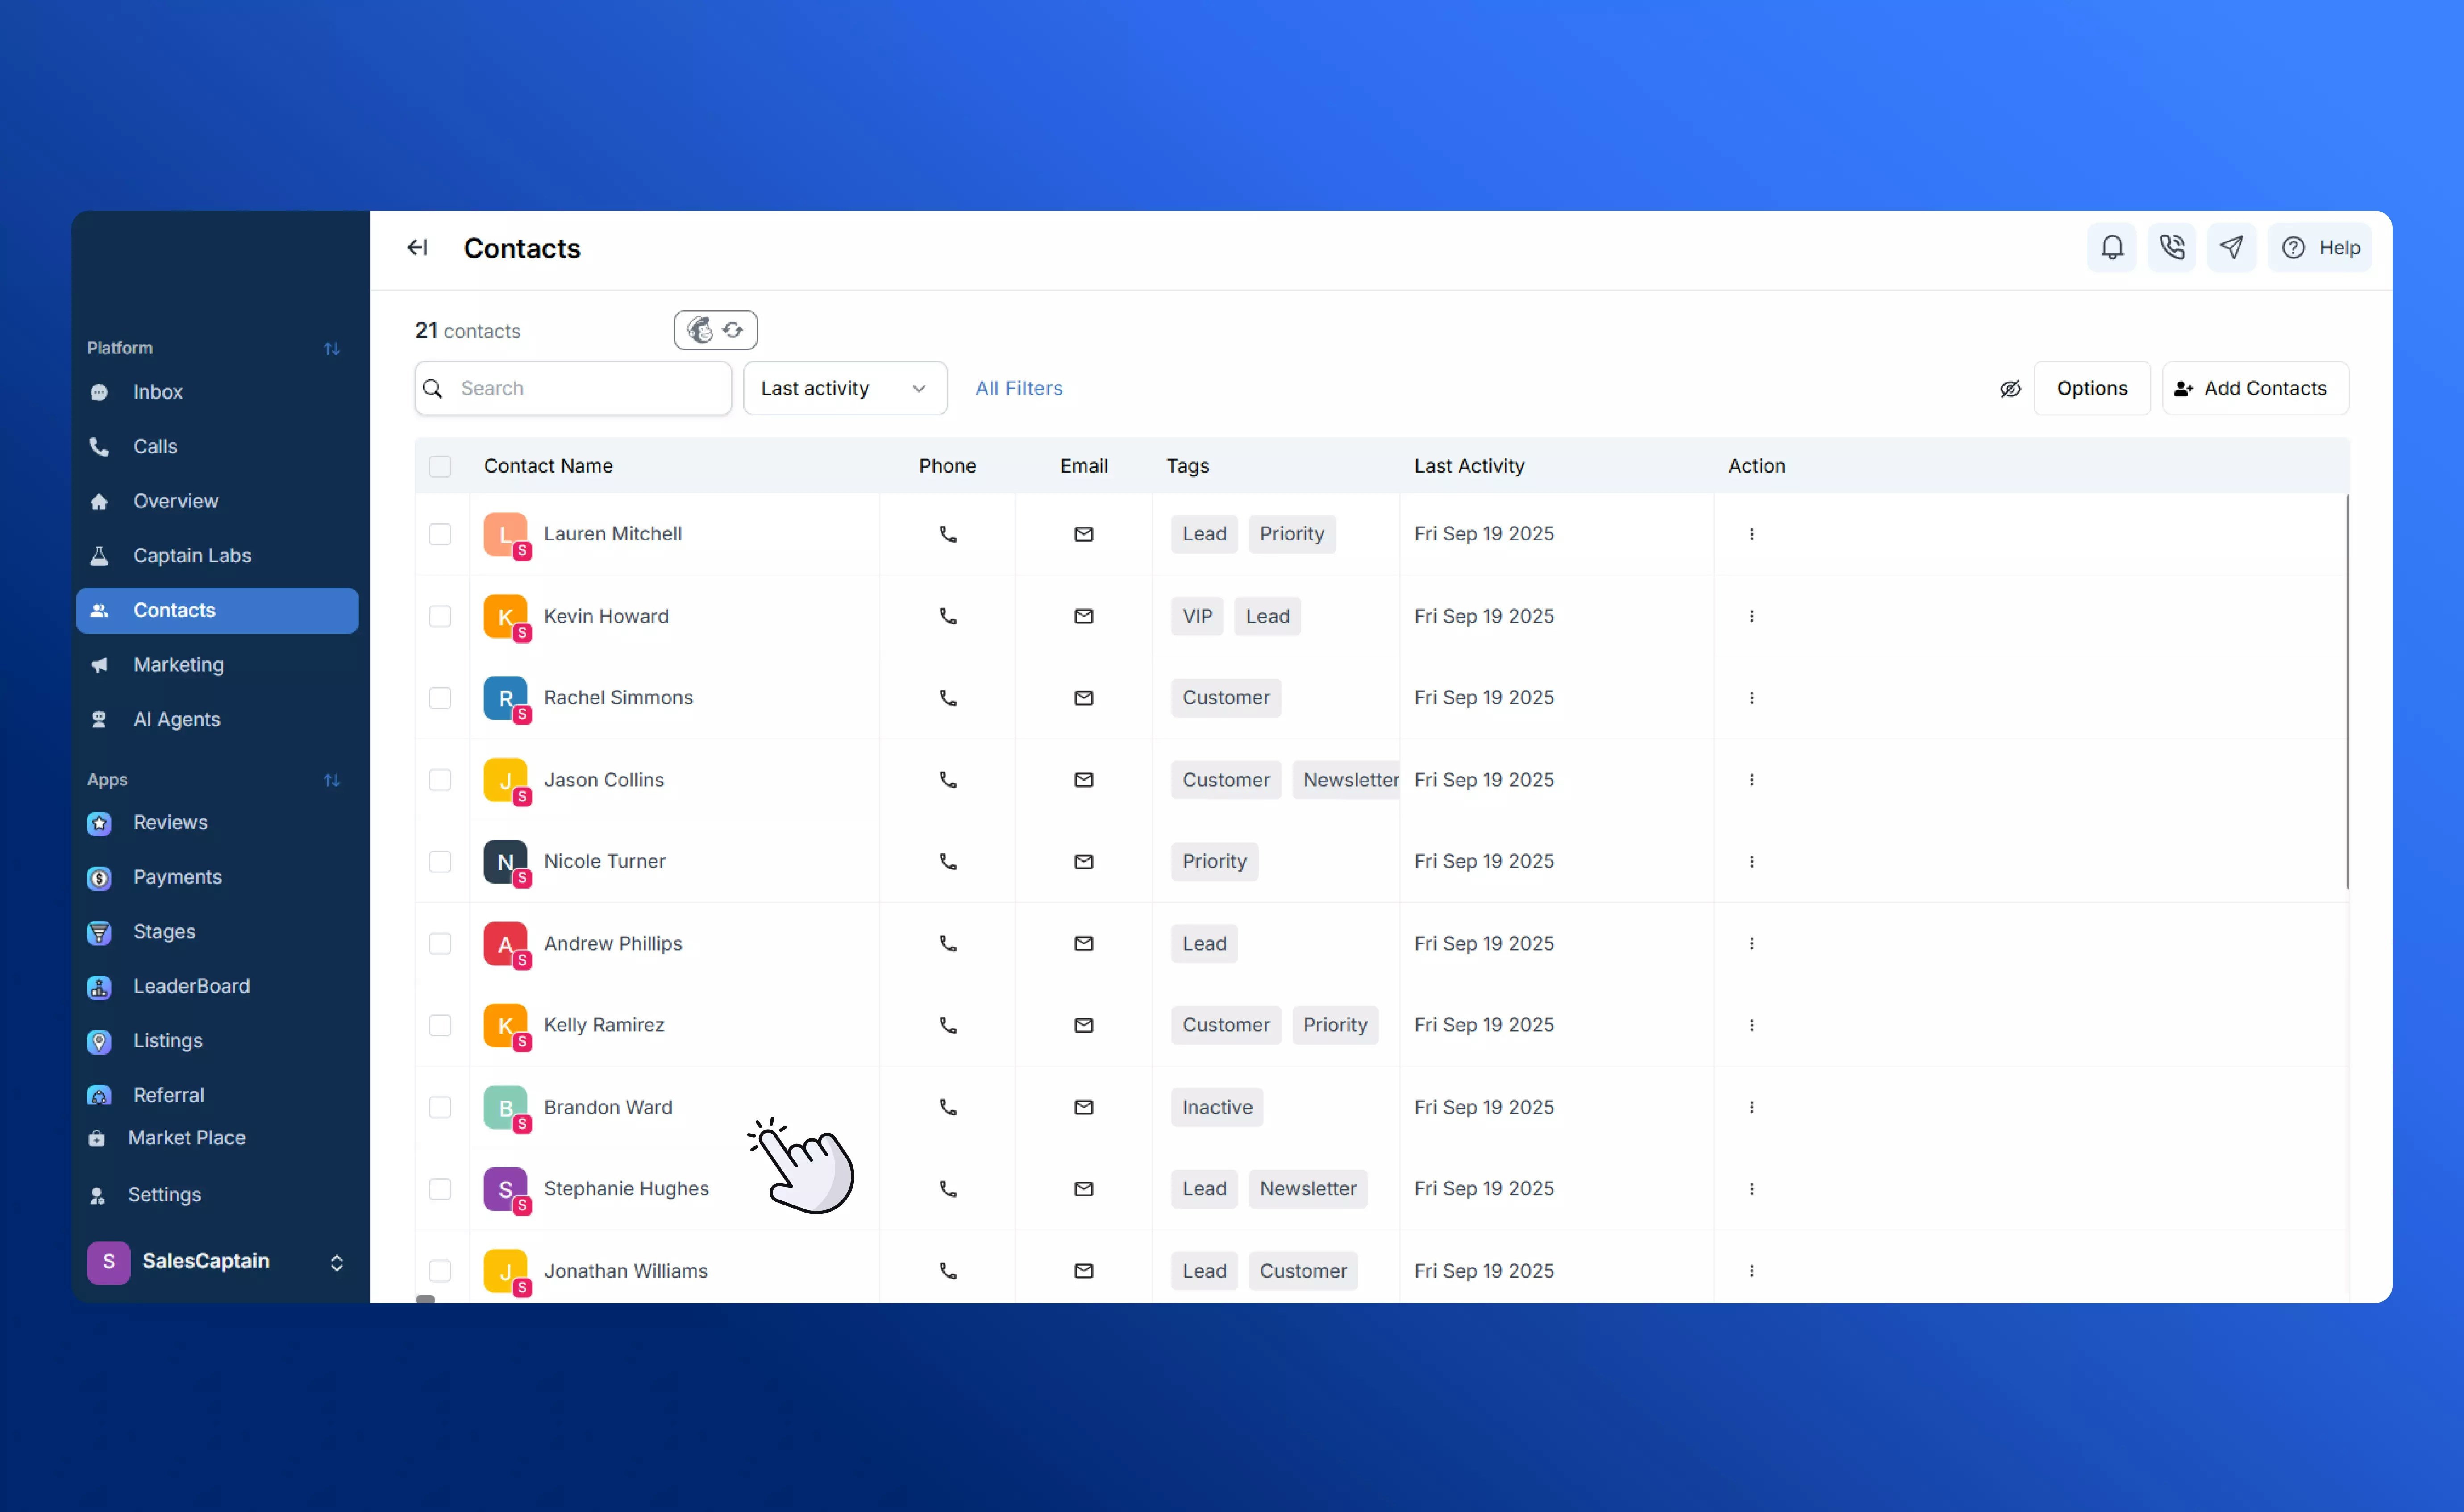
Filtering & Viewing Contacts
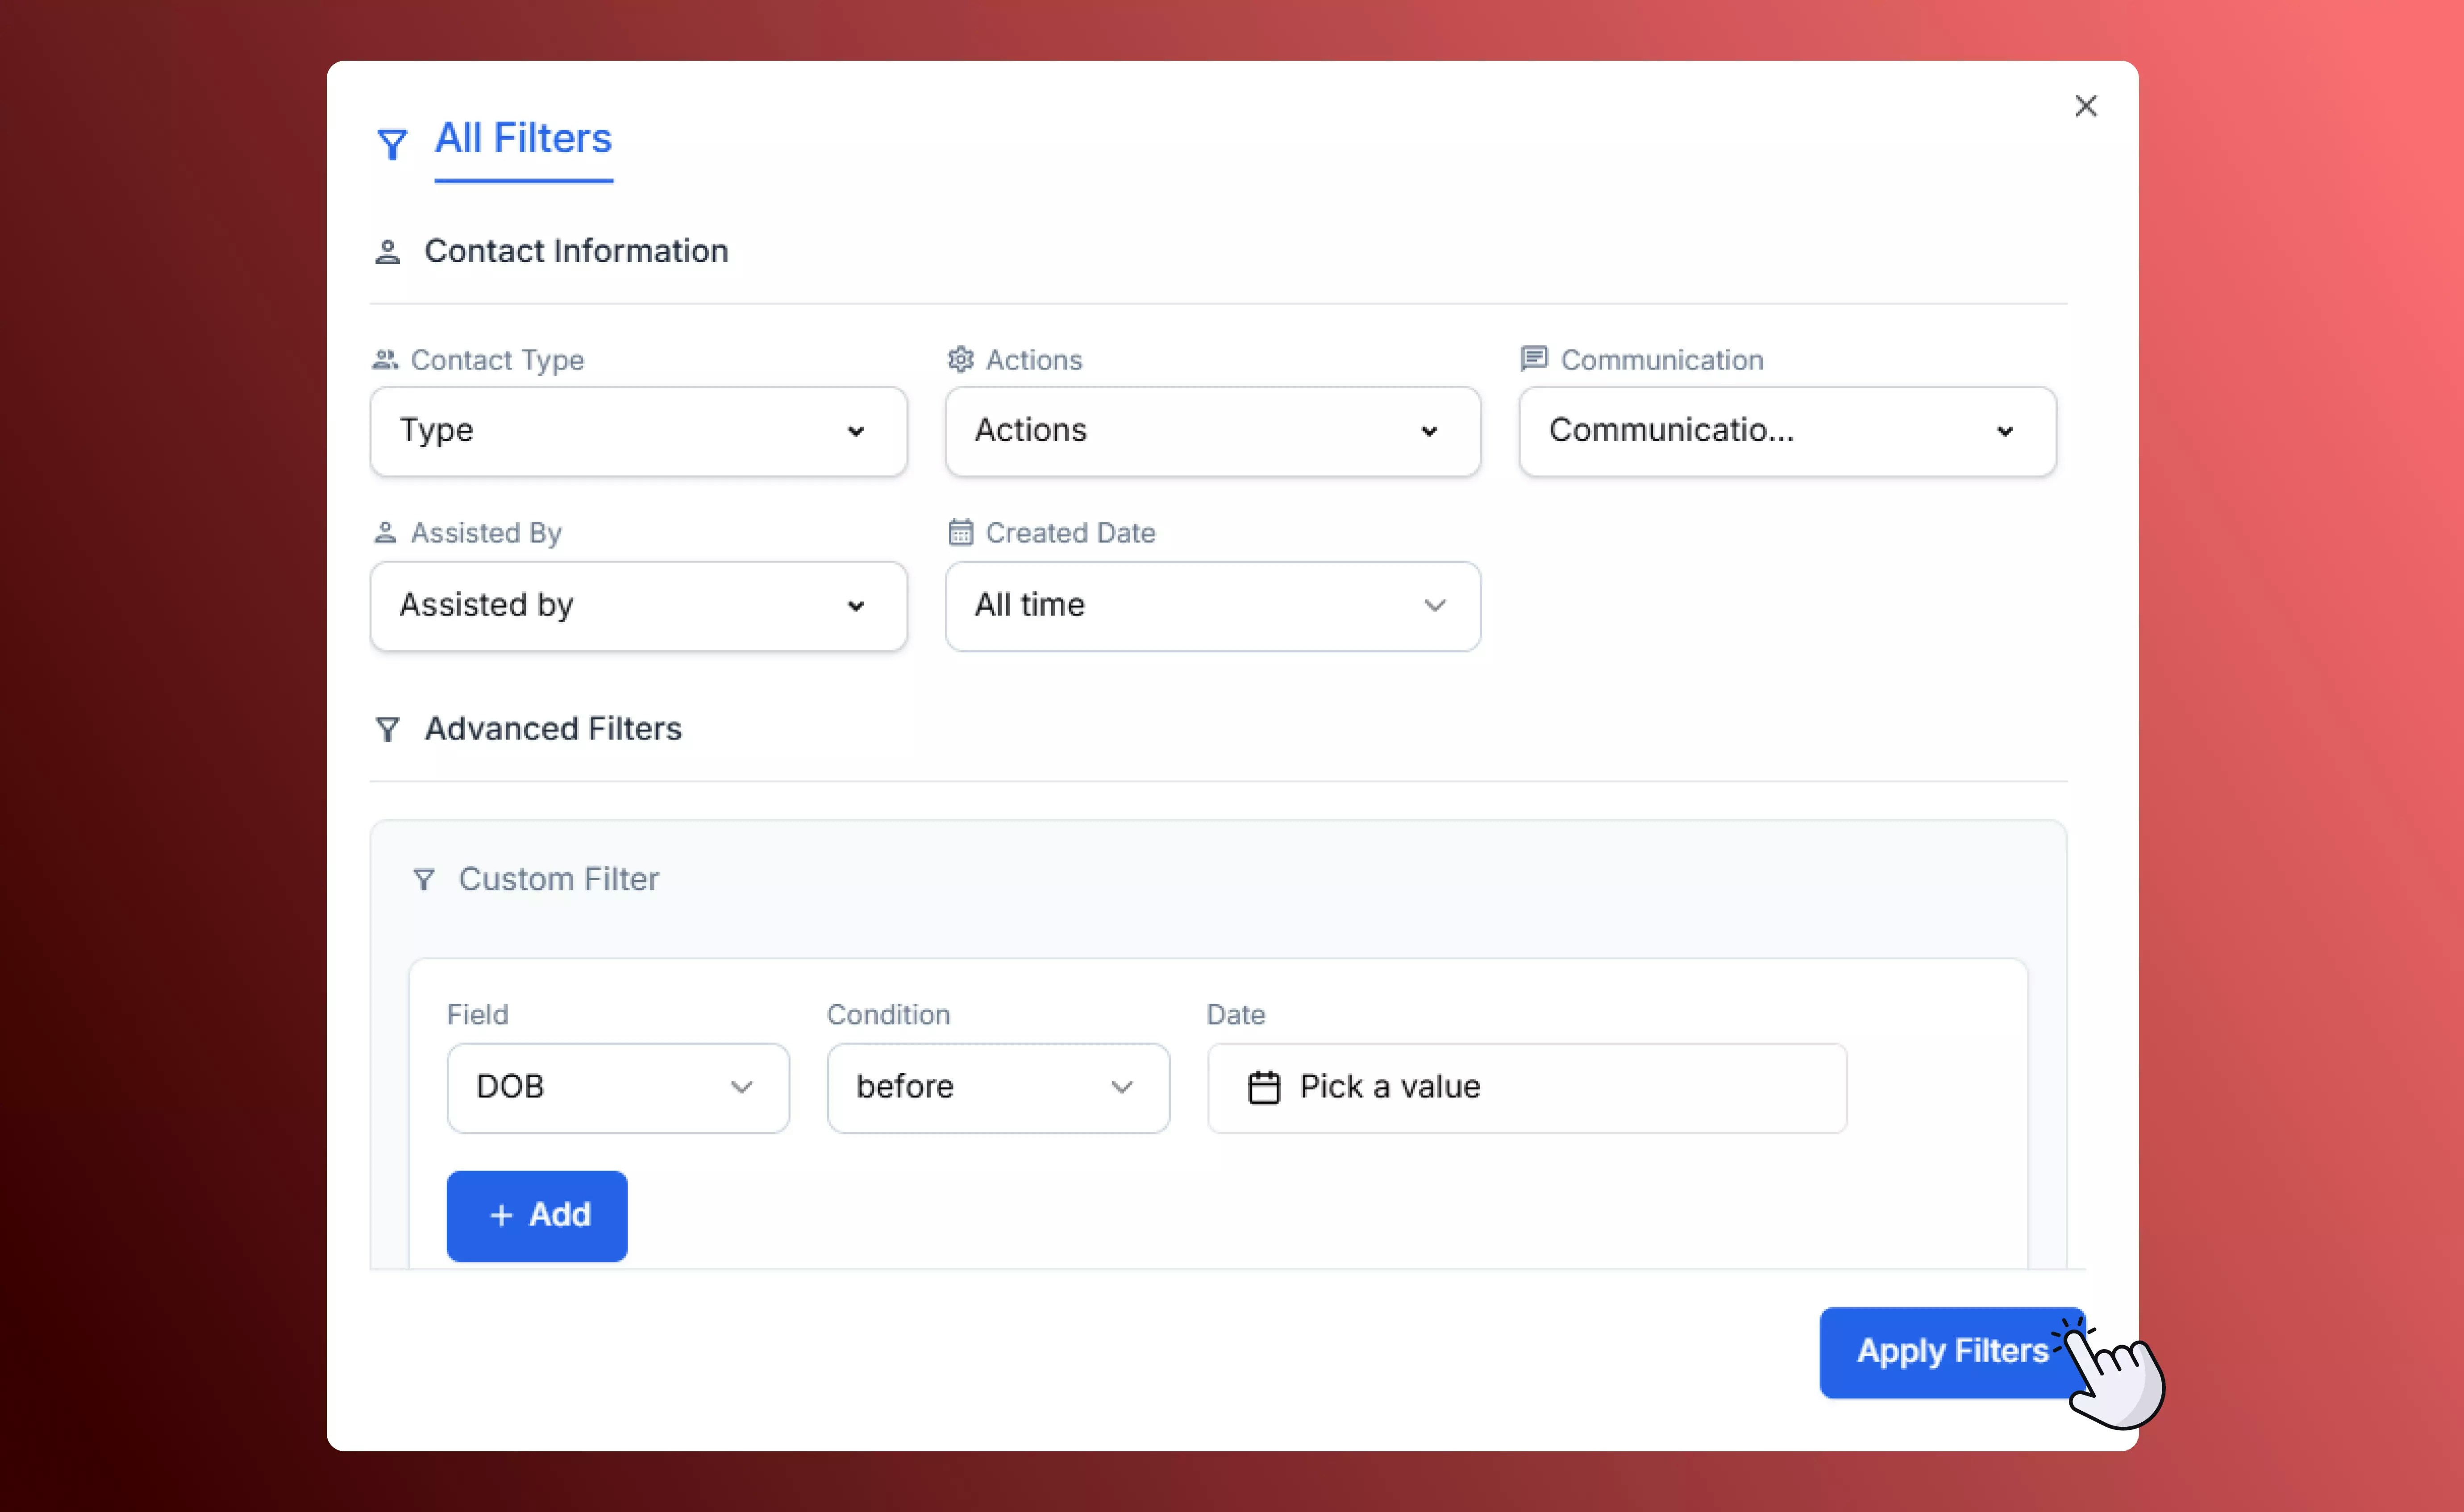
The Filters panel helps you zero in on the exact audience you need without scrolling through long lists. Use it to segment contacts by:- Date created: Find all contacts added during a specific campaign or time period.
- Team member assigned: View only contacts owned by a particular rep.
- Actions: Such as whether they’ve left a review, received an email or SMS, or completed a workflow.
- Communication opt-in status: Make sure you’re only seeing people who have opted in to receive marketing messages.
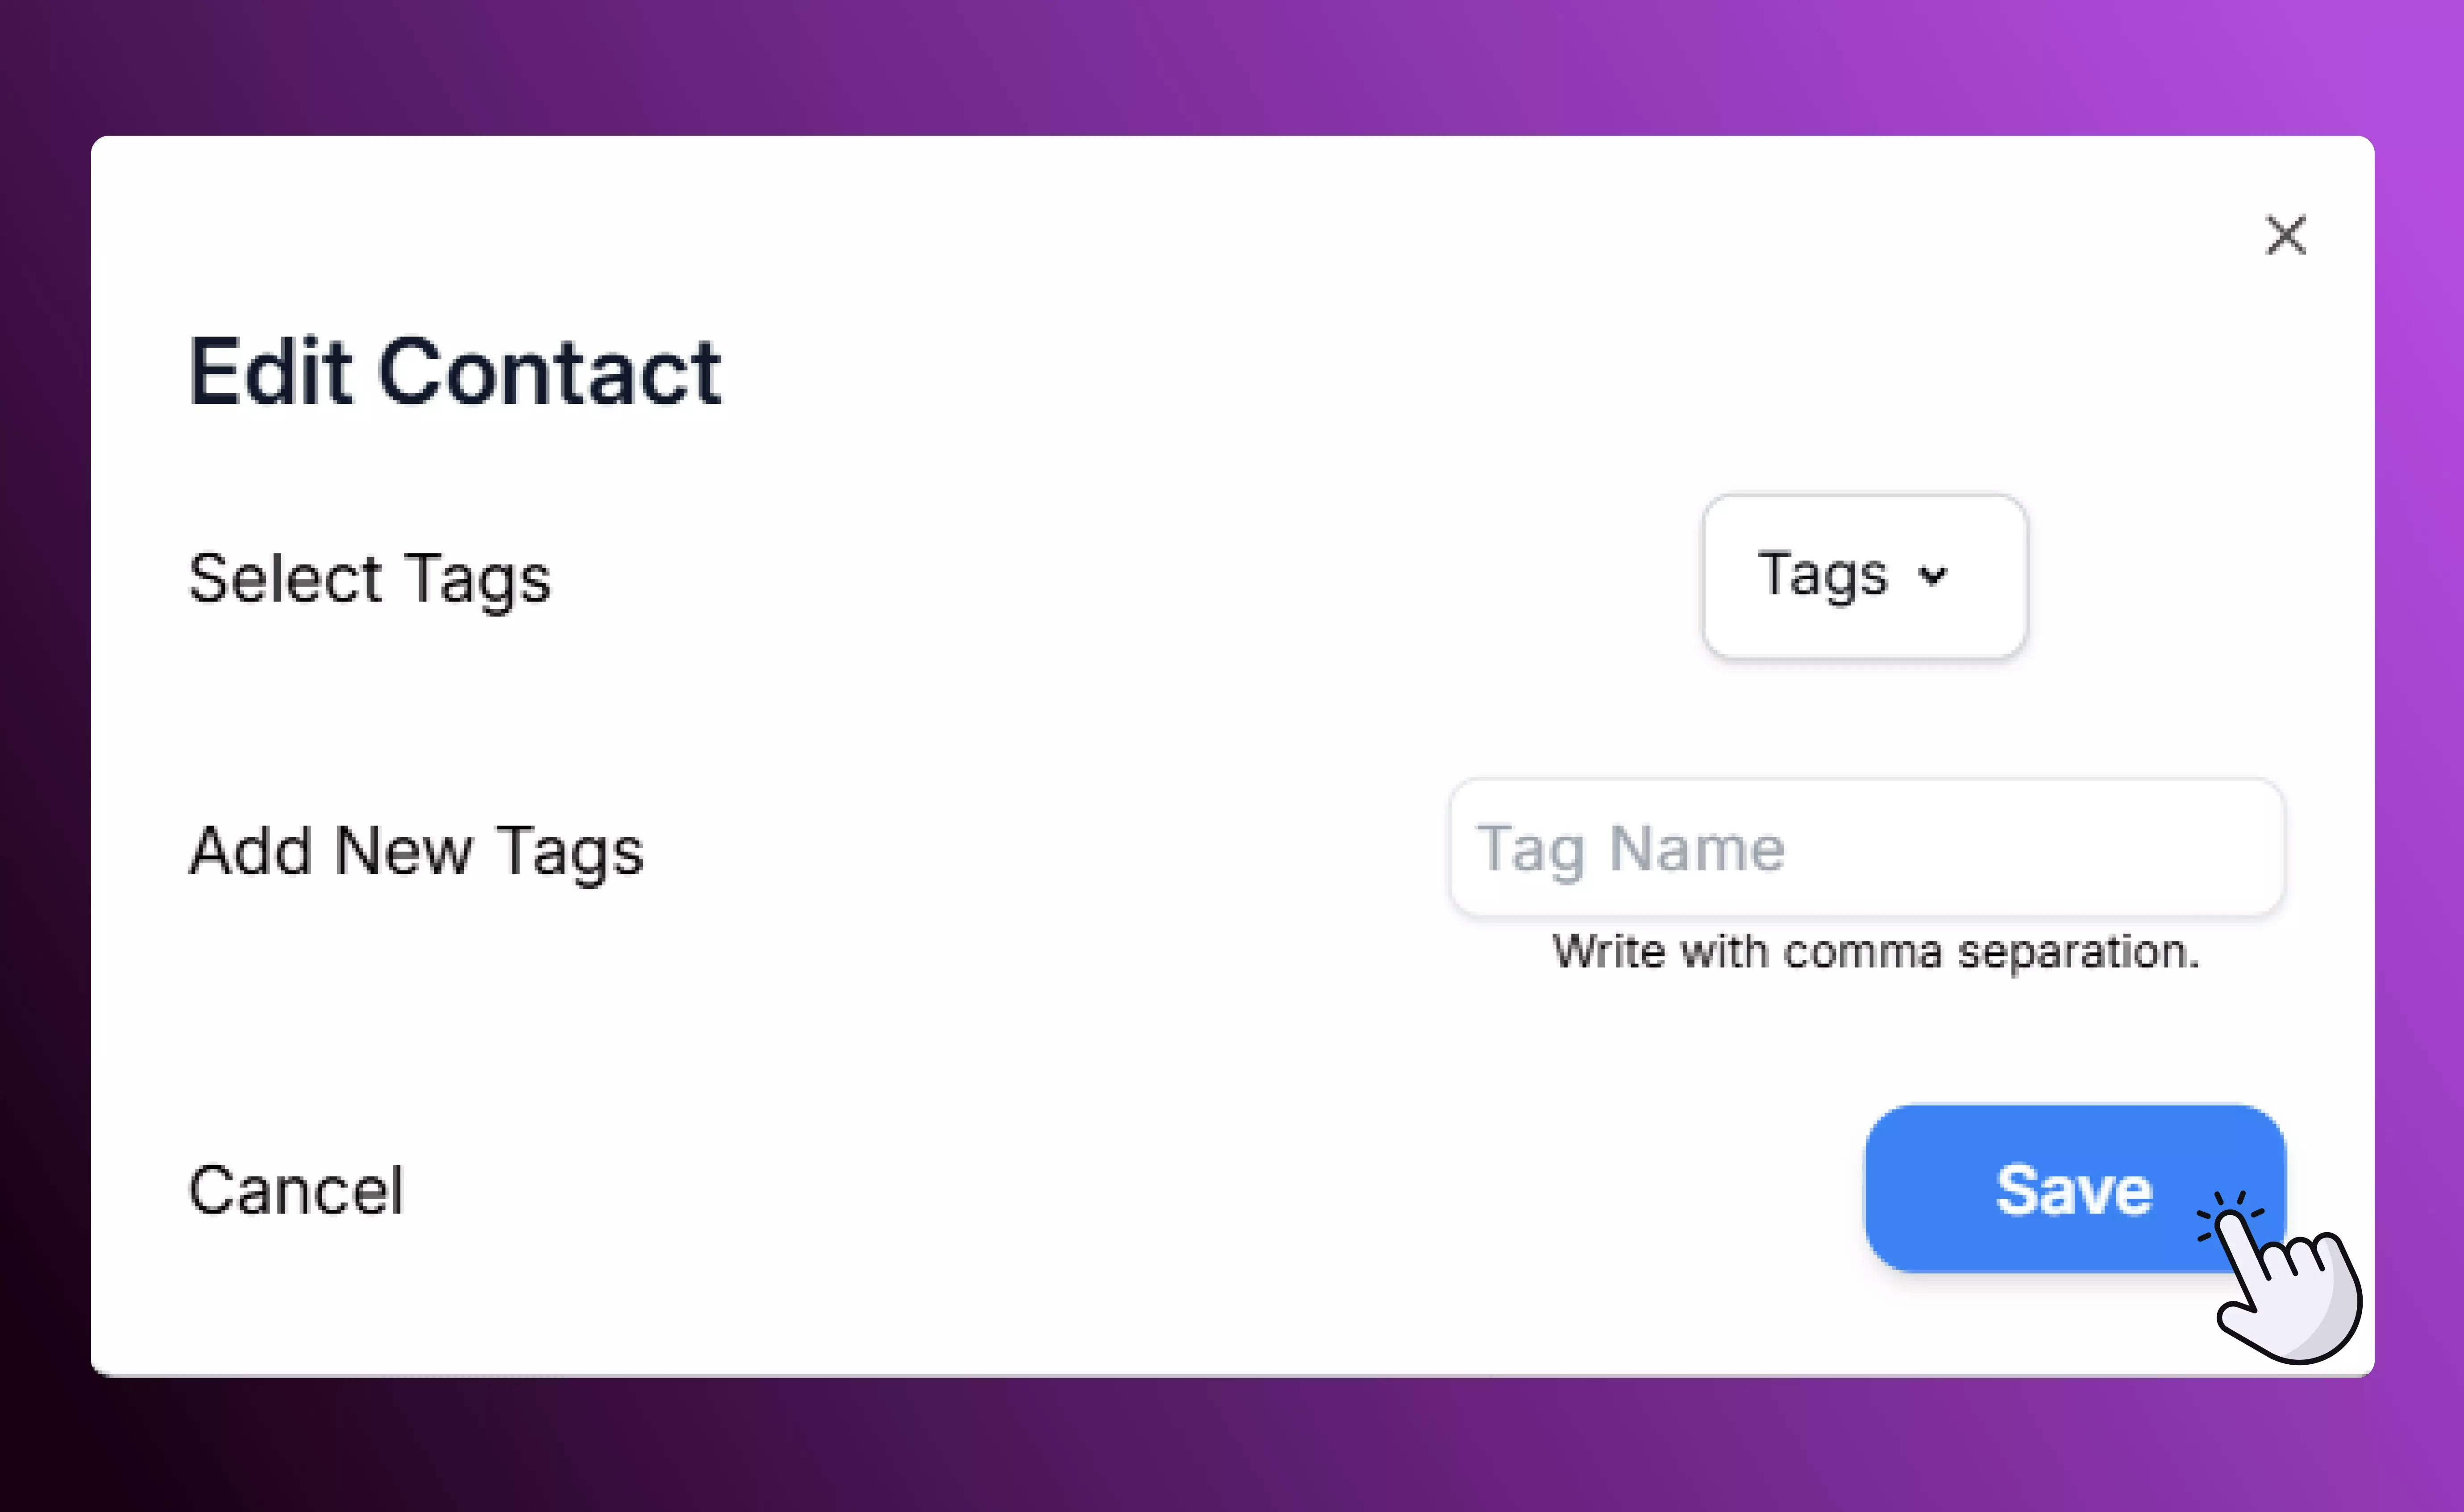
- Tags: Combine tag filters to build precise lists (“VIP” + “Active Customer”). Learn more about managing tags.
- Custom fields: For example, “Membership Level = Gold” or “Renewal Date before 2024-12-31.” Learn how to add and delete custom fields.
Syncing with External Platforms
SalesCaptain integrates with tools like Mailchimp so your contact data stays consistent everywhere:- New contacts, edits, tags, and custom field values update automatically across both platforms.
- Changes you make in Mailchimp are reflected in SalesCaptain (and vice versa) without manual imports.
- This prevents duplicate records and ensures your marketing lists are always accurate and compliant.
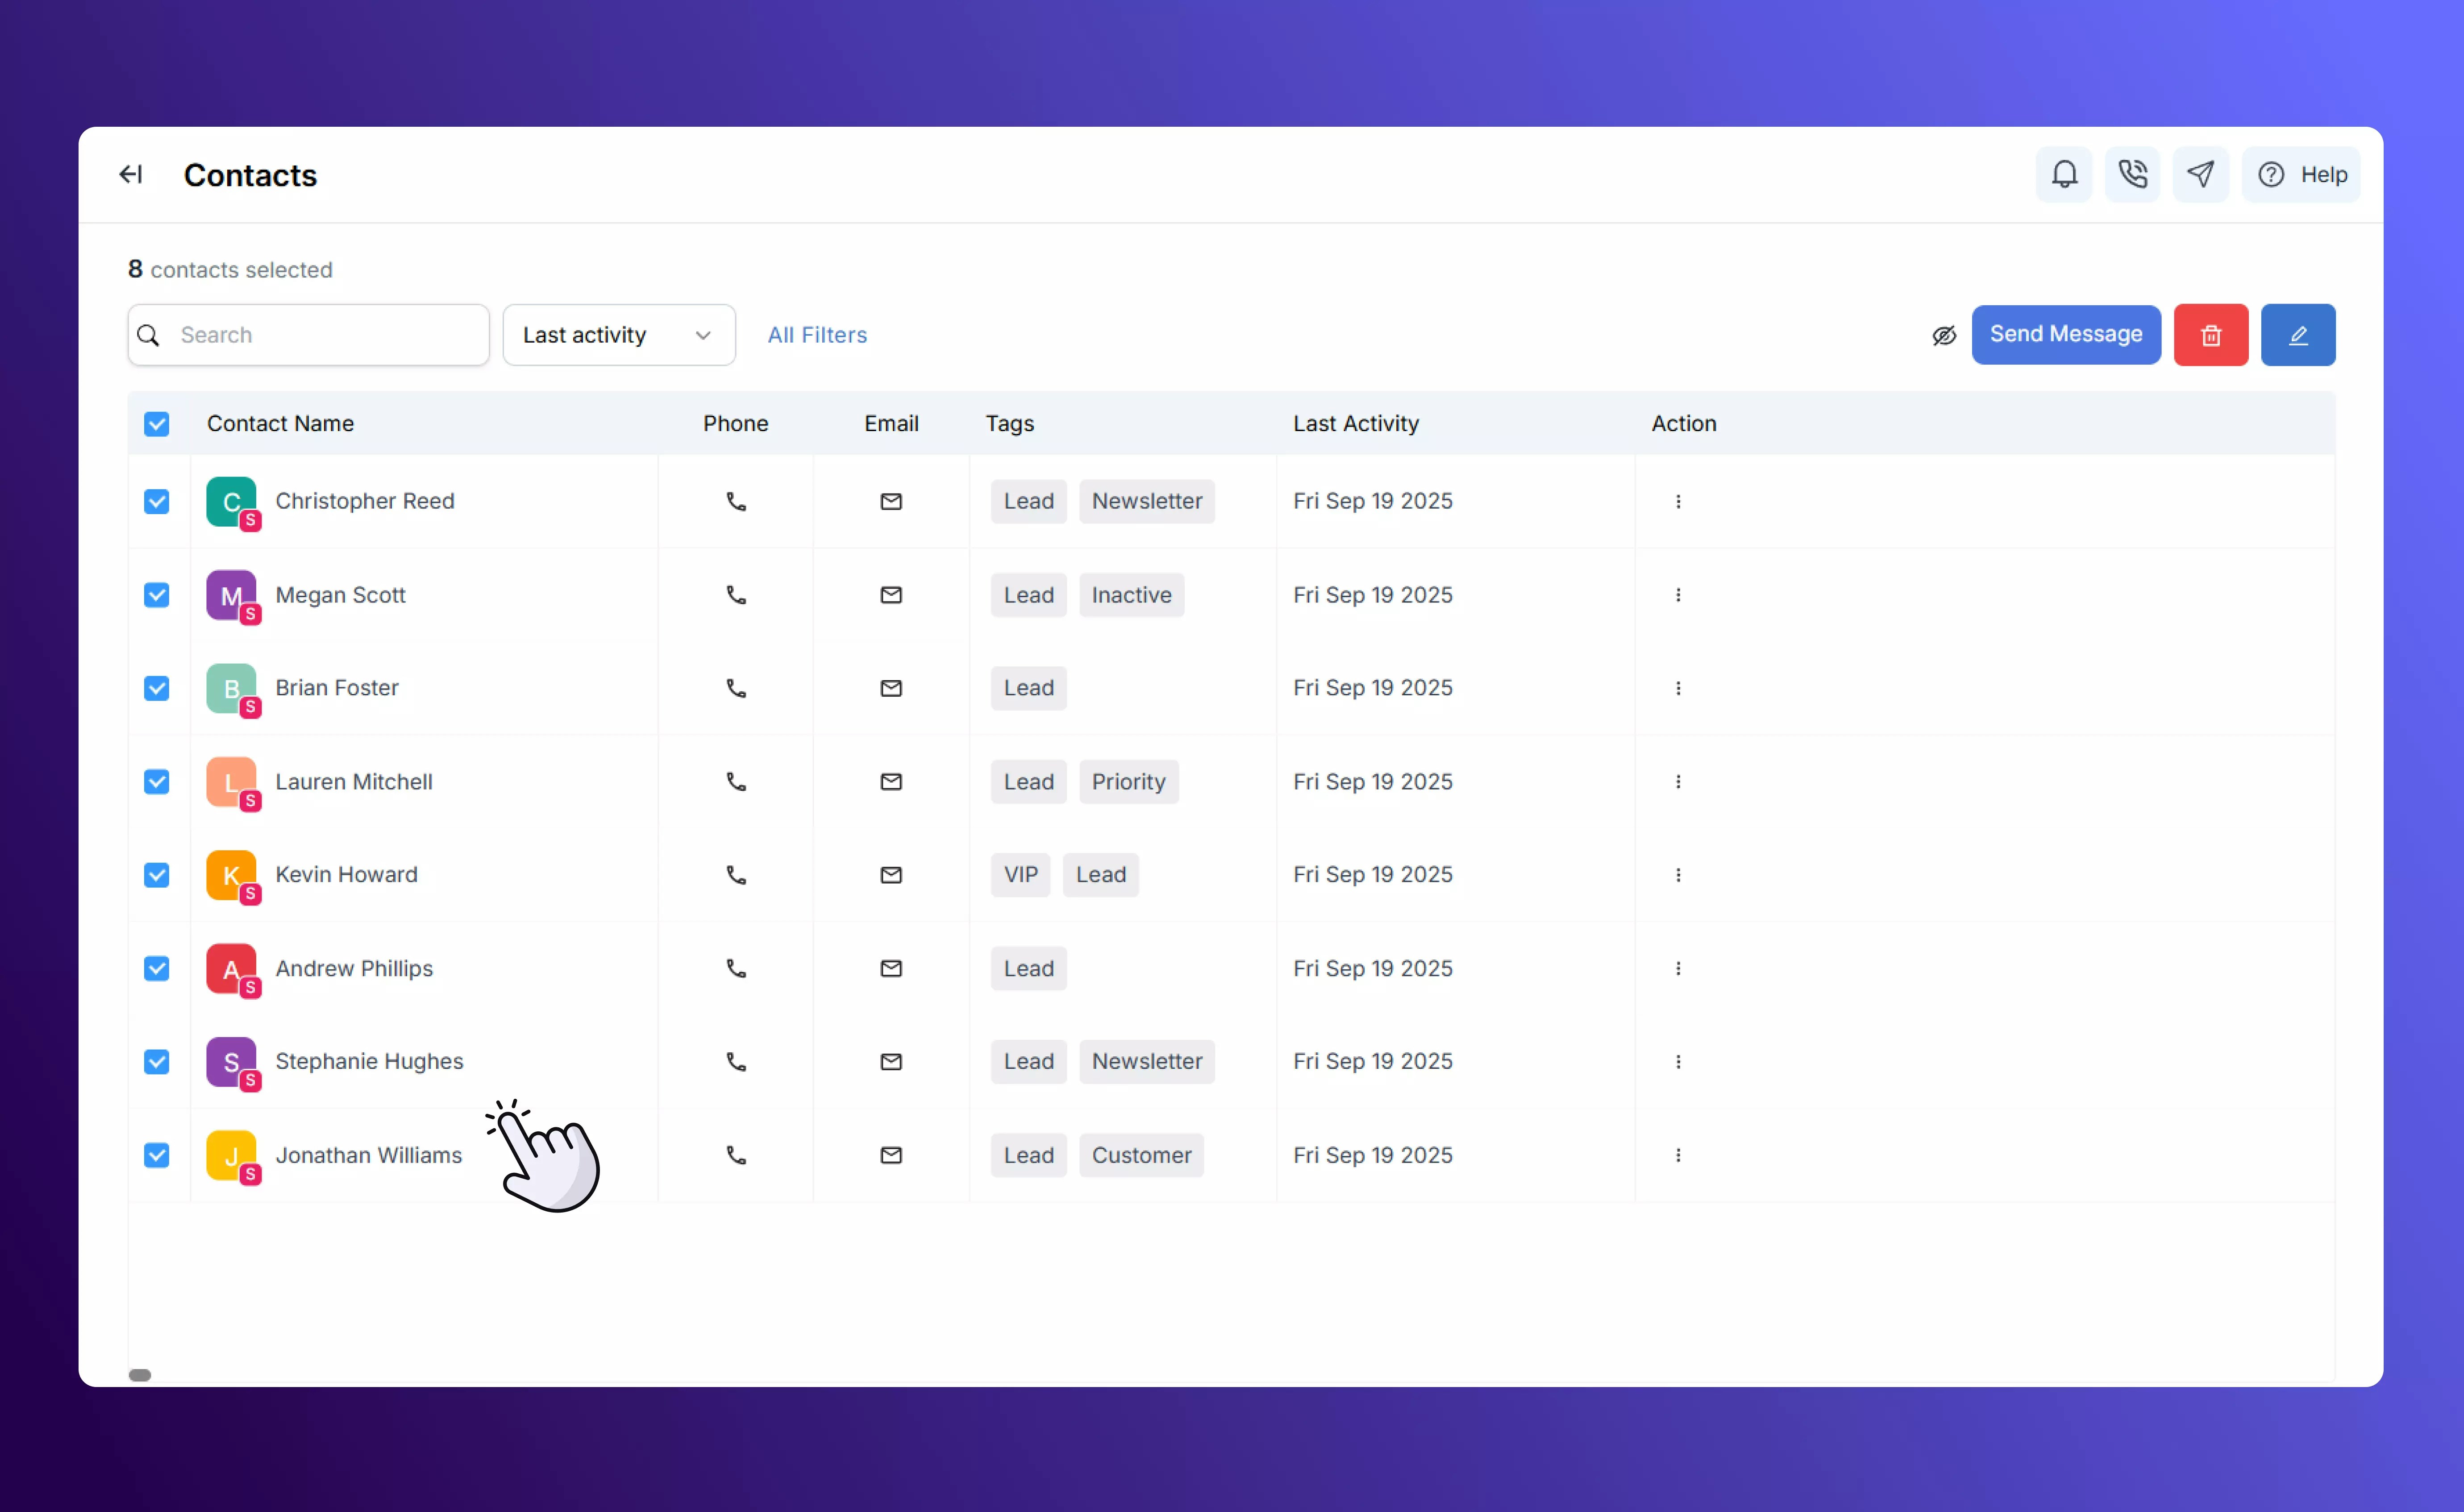
Bulk Operations
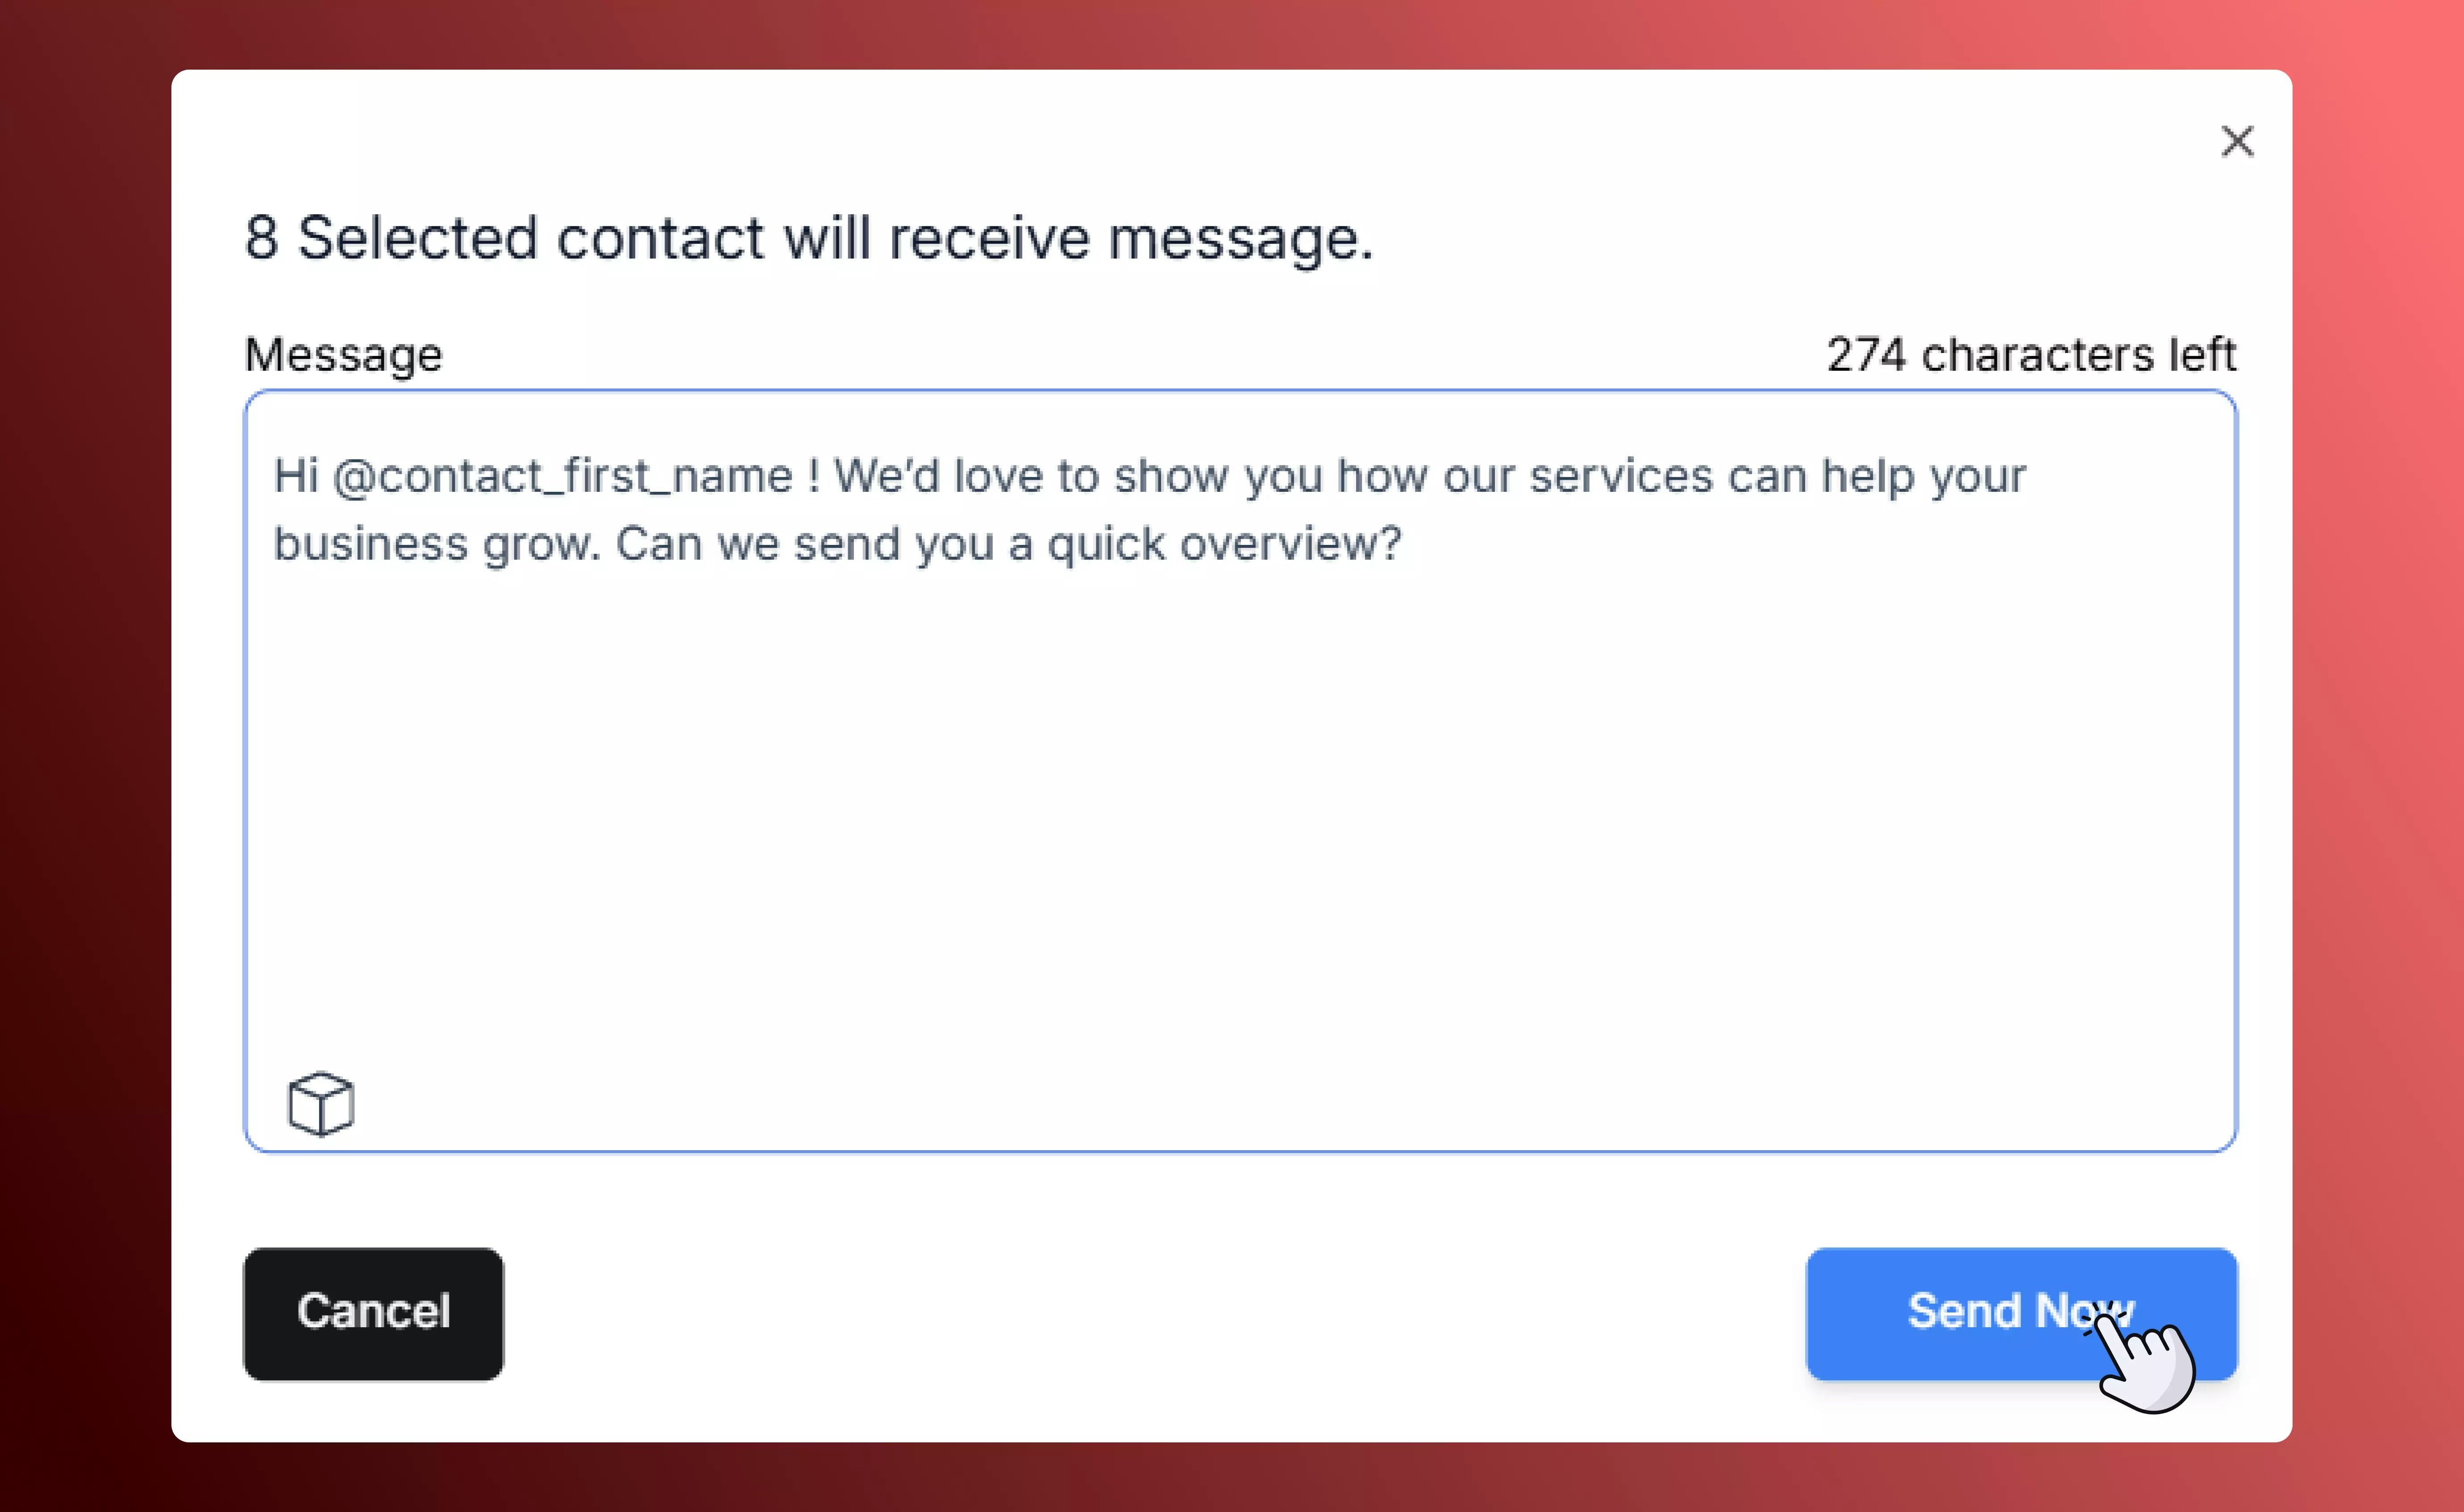
After you’ve filtered your list down, you can take action on many contacts at once:- Send SMS or Email campaigns to a targeted segment.
- Apply or remove tags in bulk to keep segmentation up to date.
- Delete contacts in bulk if they are no longer part of your database.
Best Practices
- Clean and review regularly: check for old phone numbers, invalid emails, or duplicates.
- Plan before you act: test your filters and fields with a small sample before sending a big campaign.
- Respect opt-in status: only contacts who have opted in should receive communications.
- Use tags and custom fields together: combining them makes your filters more powerful and your campaigns more precise.