Adding and Editing Custom Fields
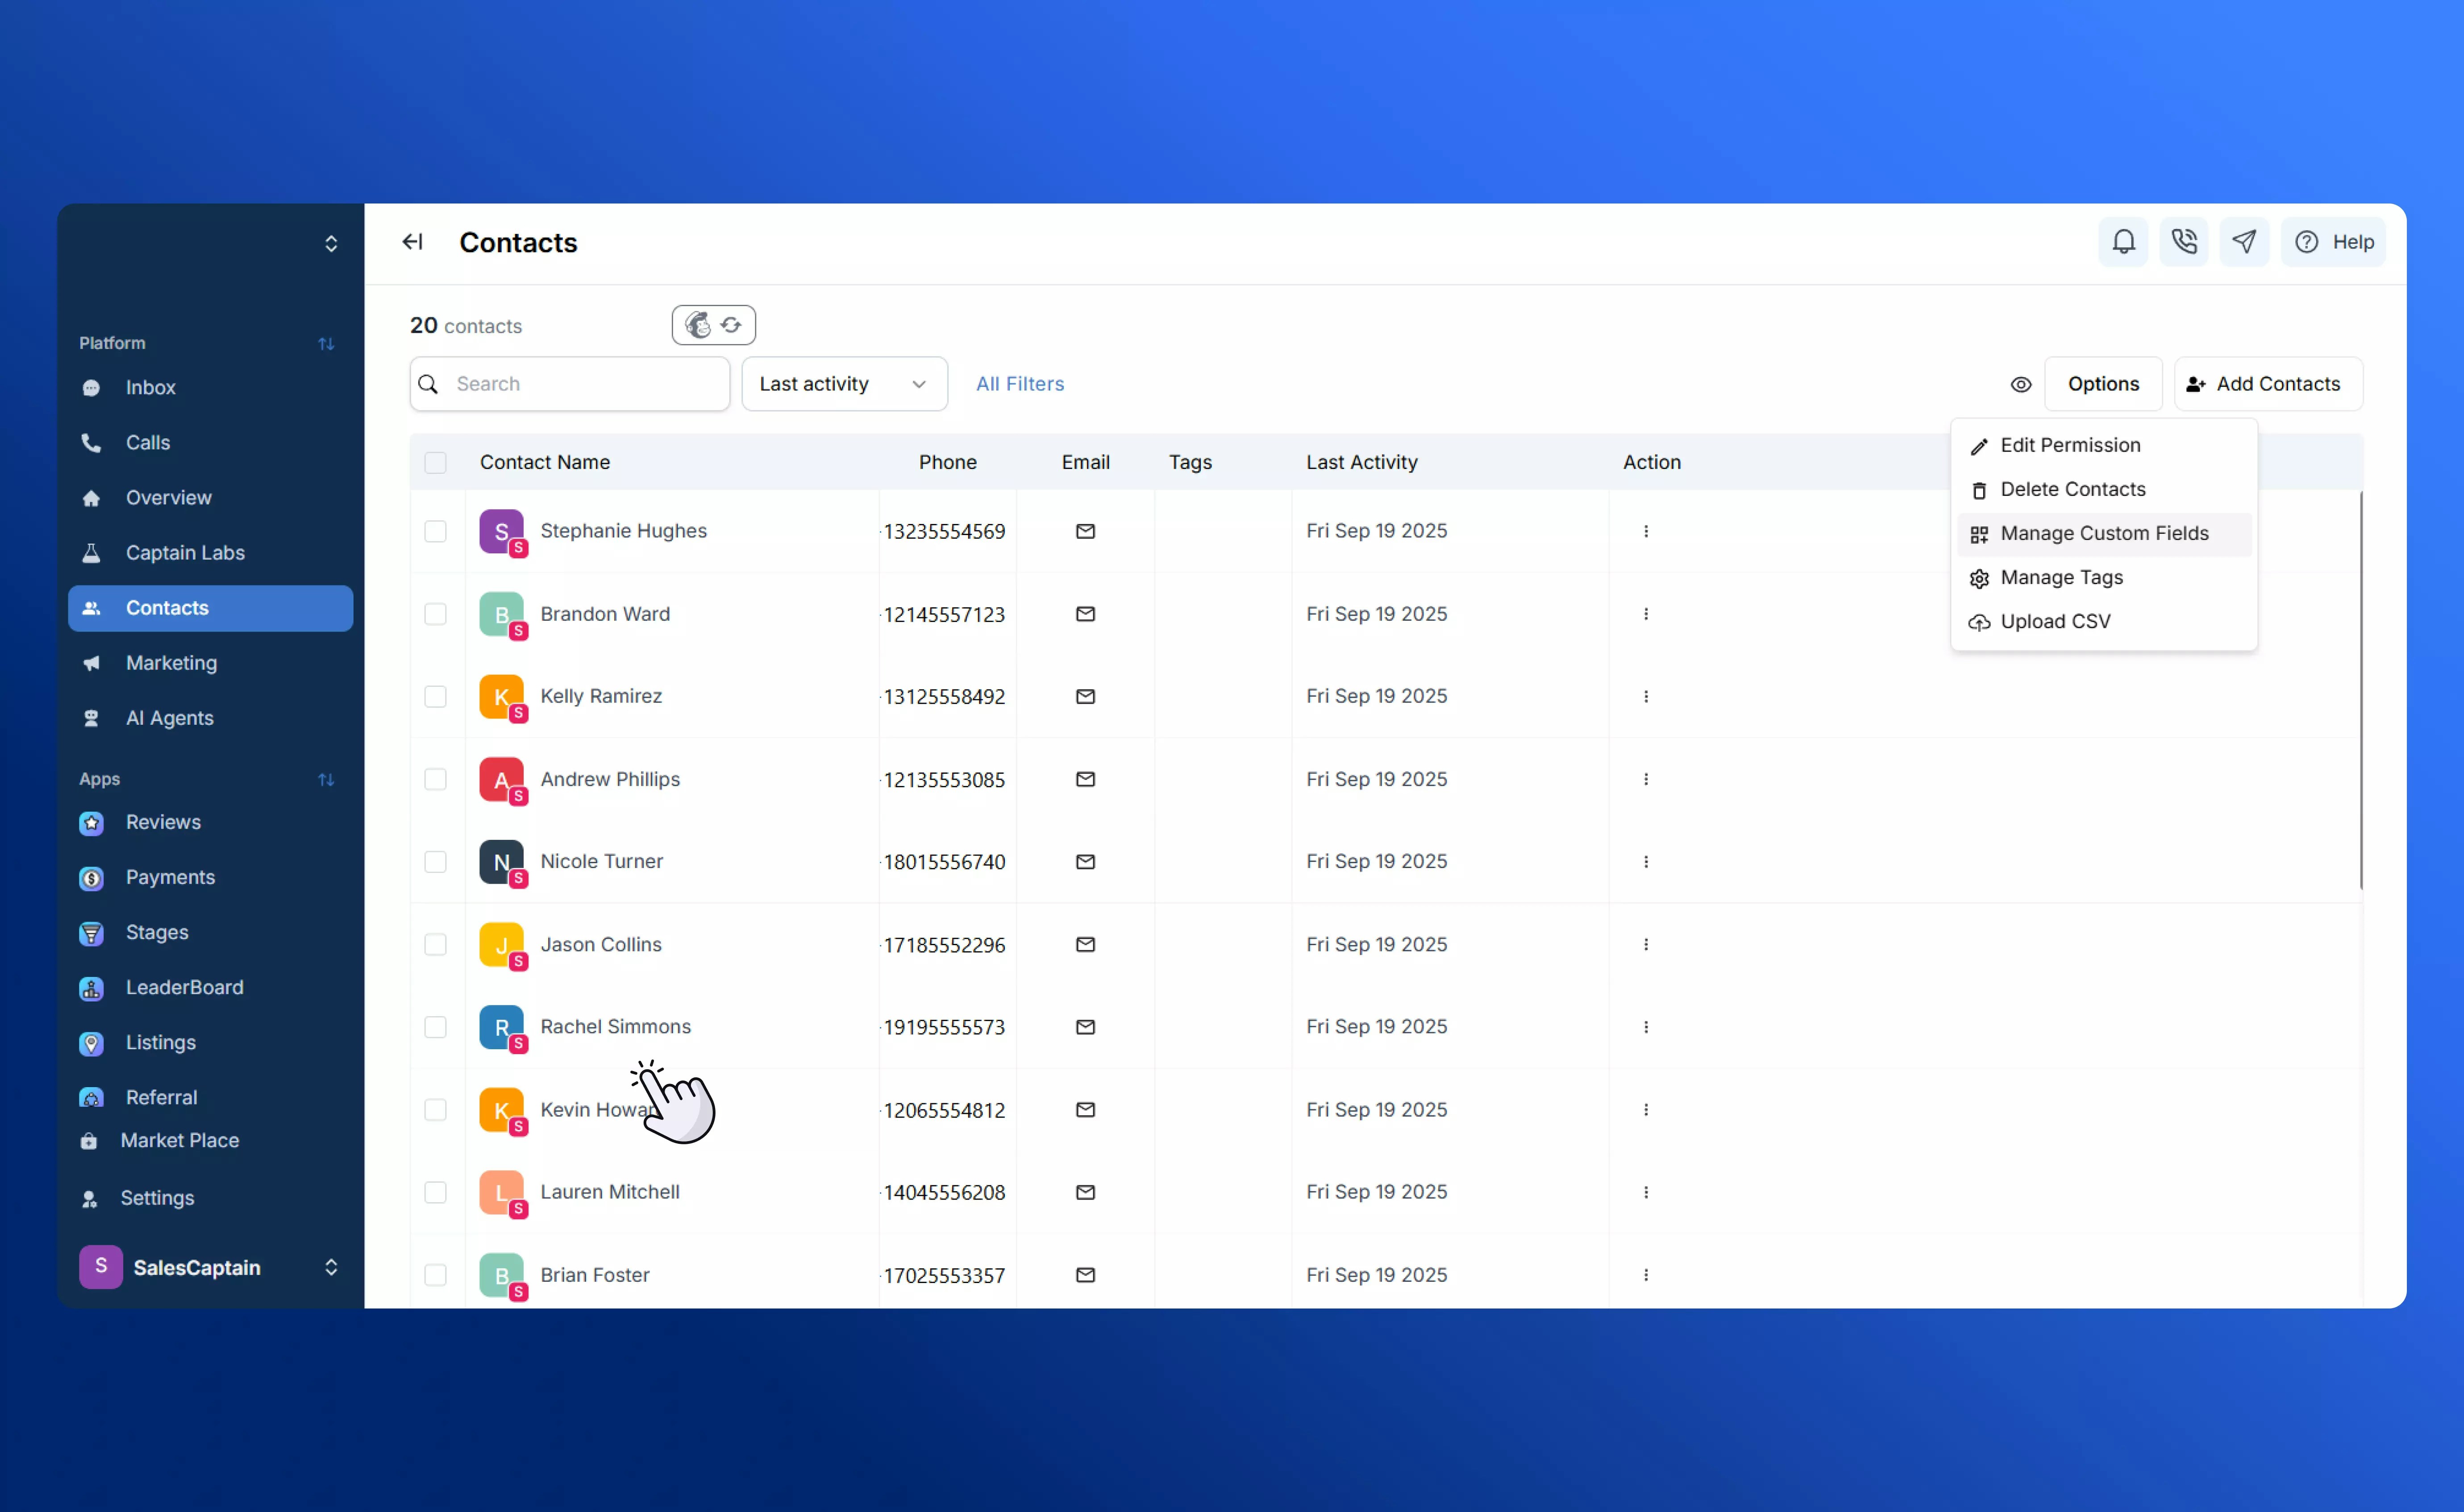
- Go to Contacts → Options → Manage Custom Fields.
- Create a new field by specifying its type (date, number, currency, text) and name.
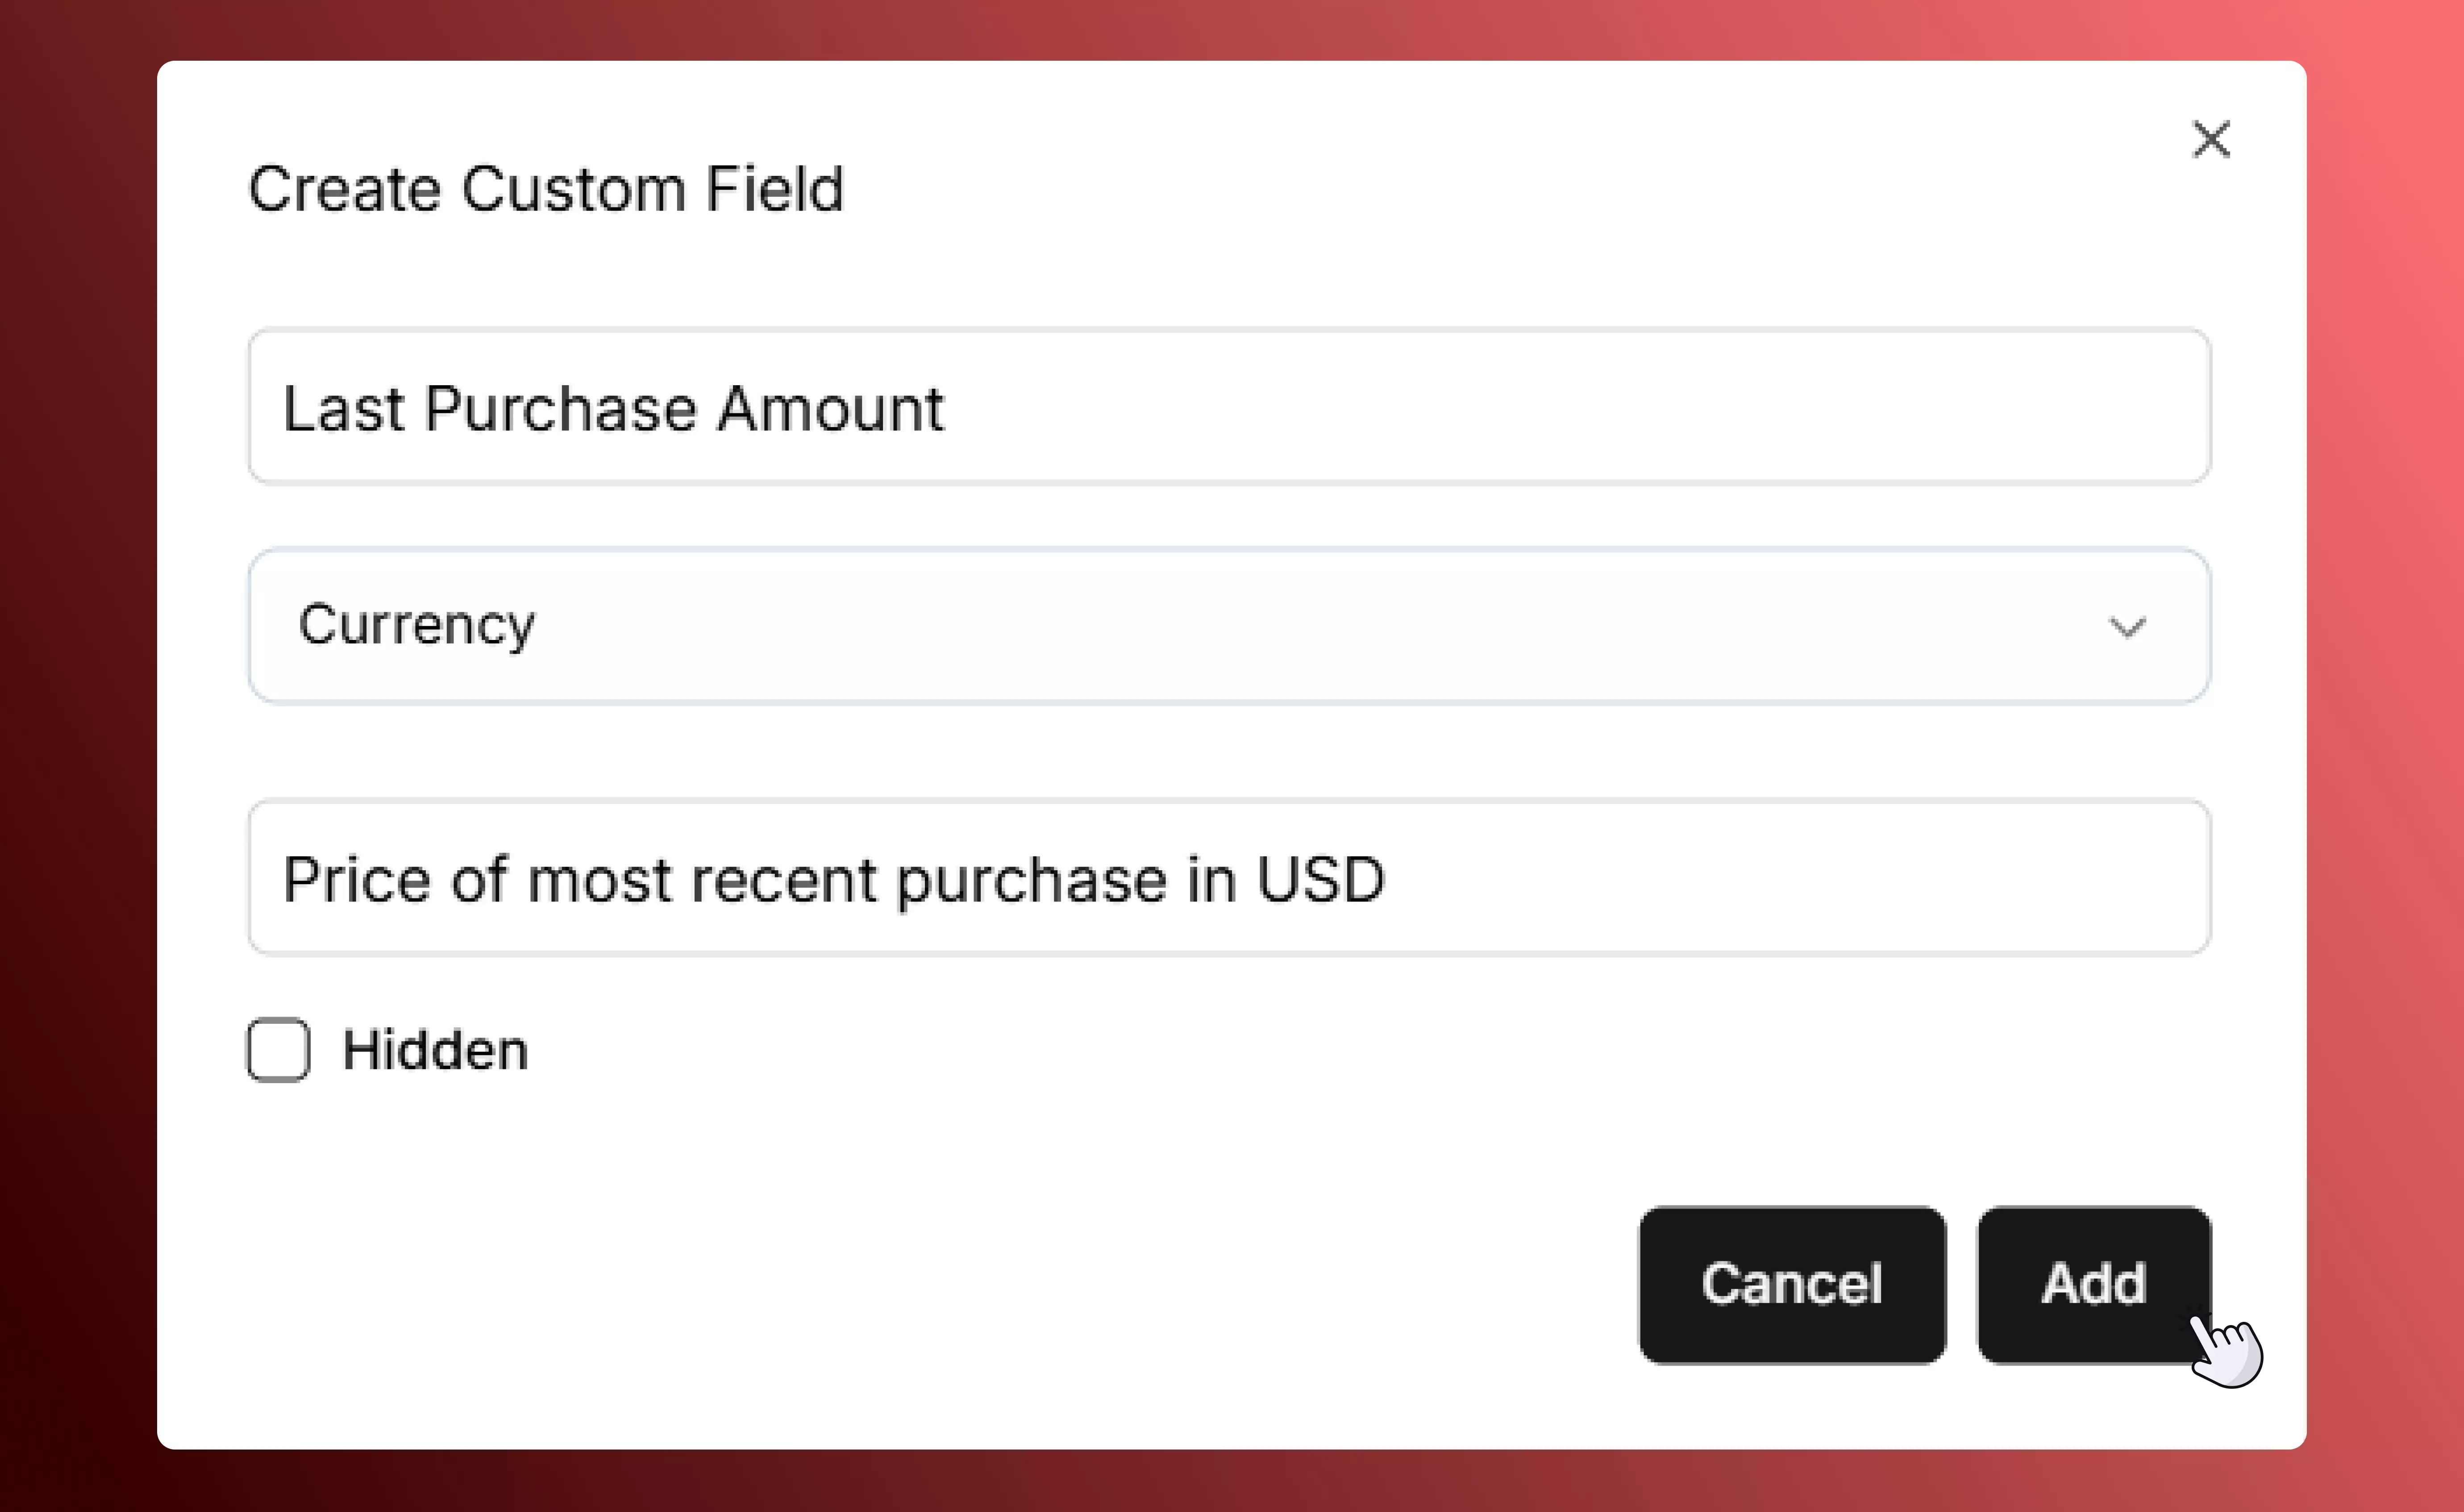
- Hide a field if you don’t want it displayed in the main Contacts tab — it will remain in your database but won’t clutter your view.
- You can edit or add new custom fields anytime from the list, especially before large imports or campaigns.
How Custom Fields Work
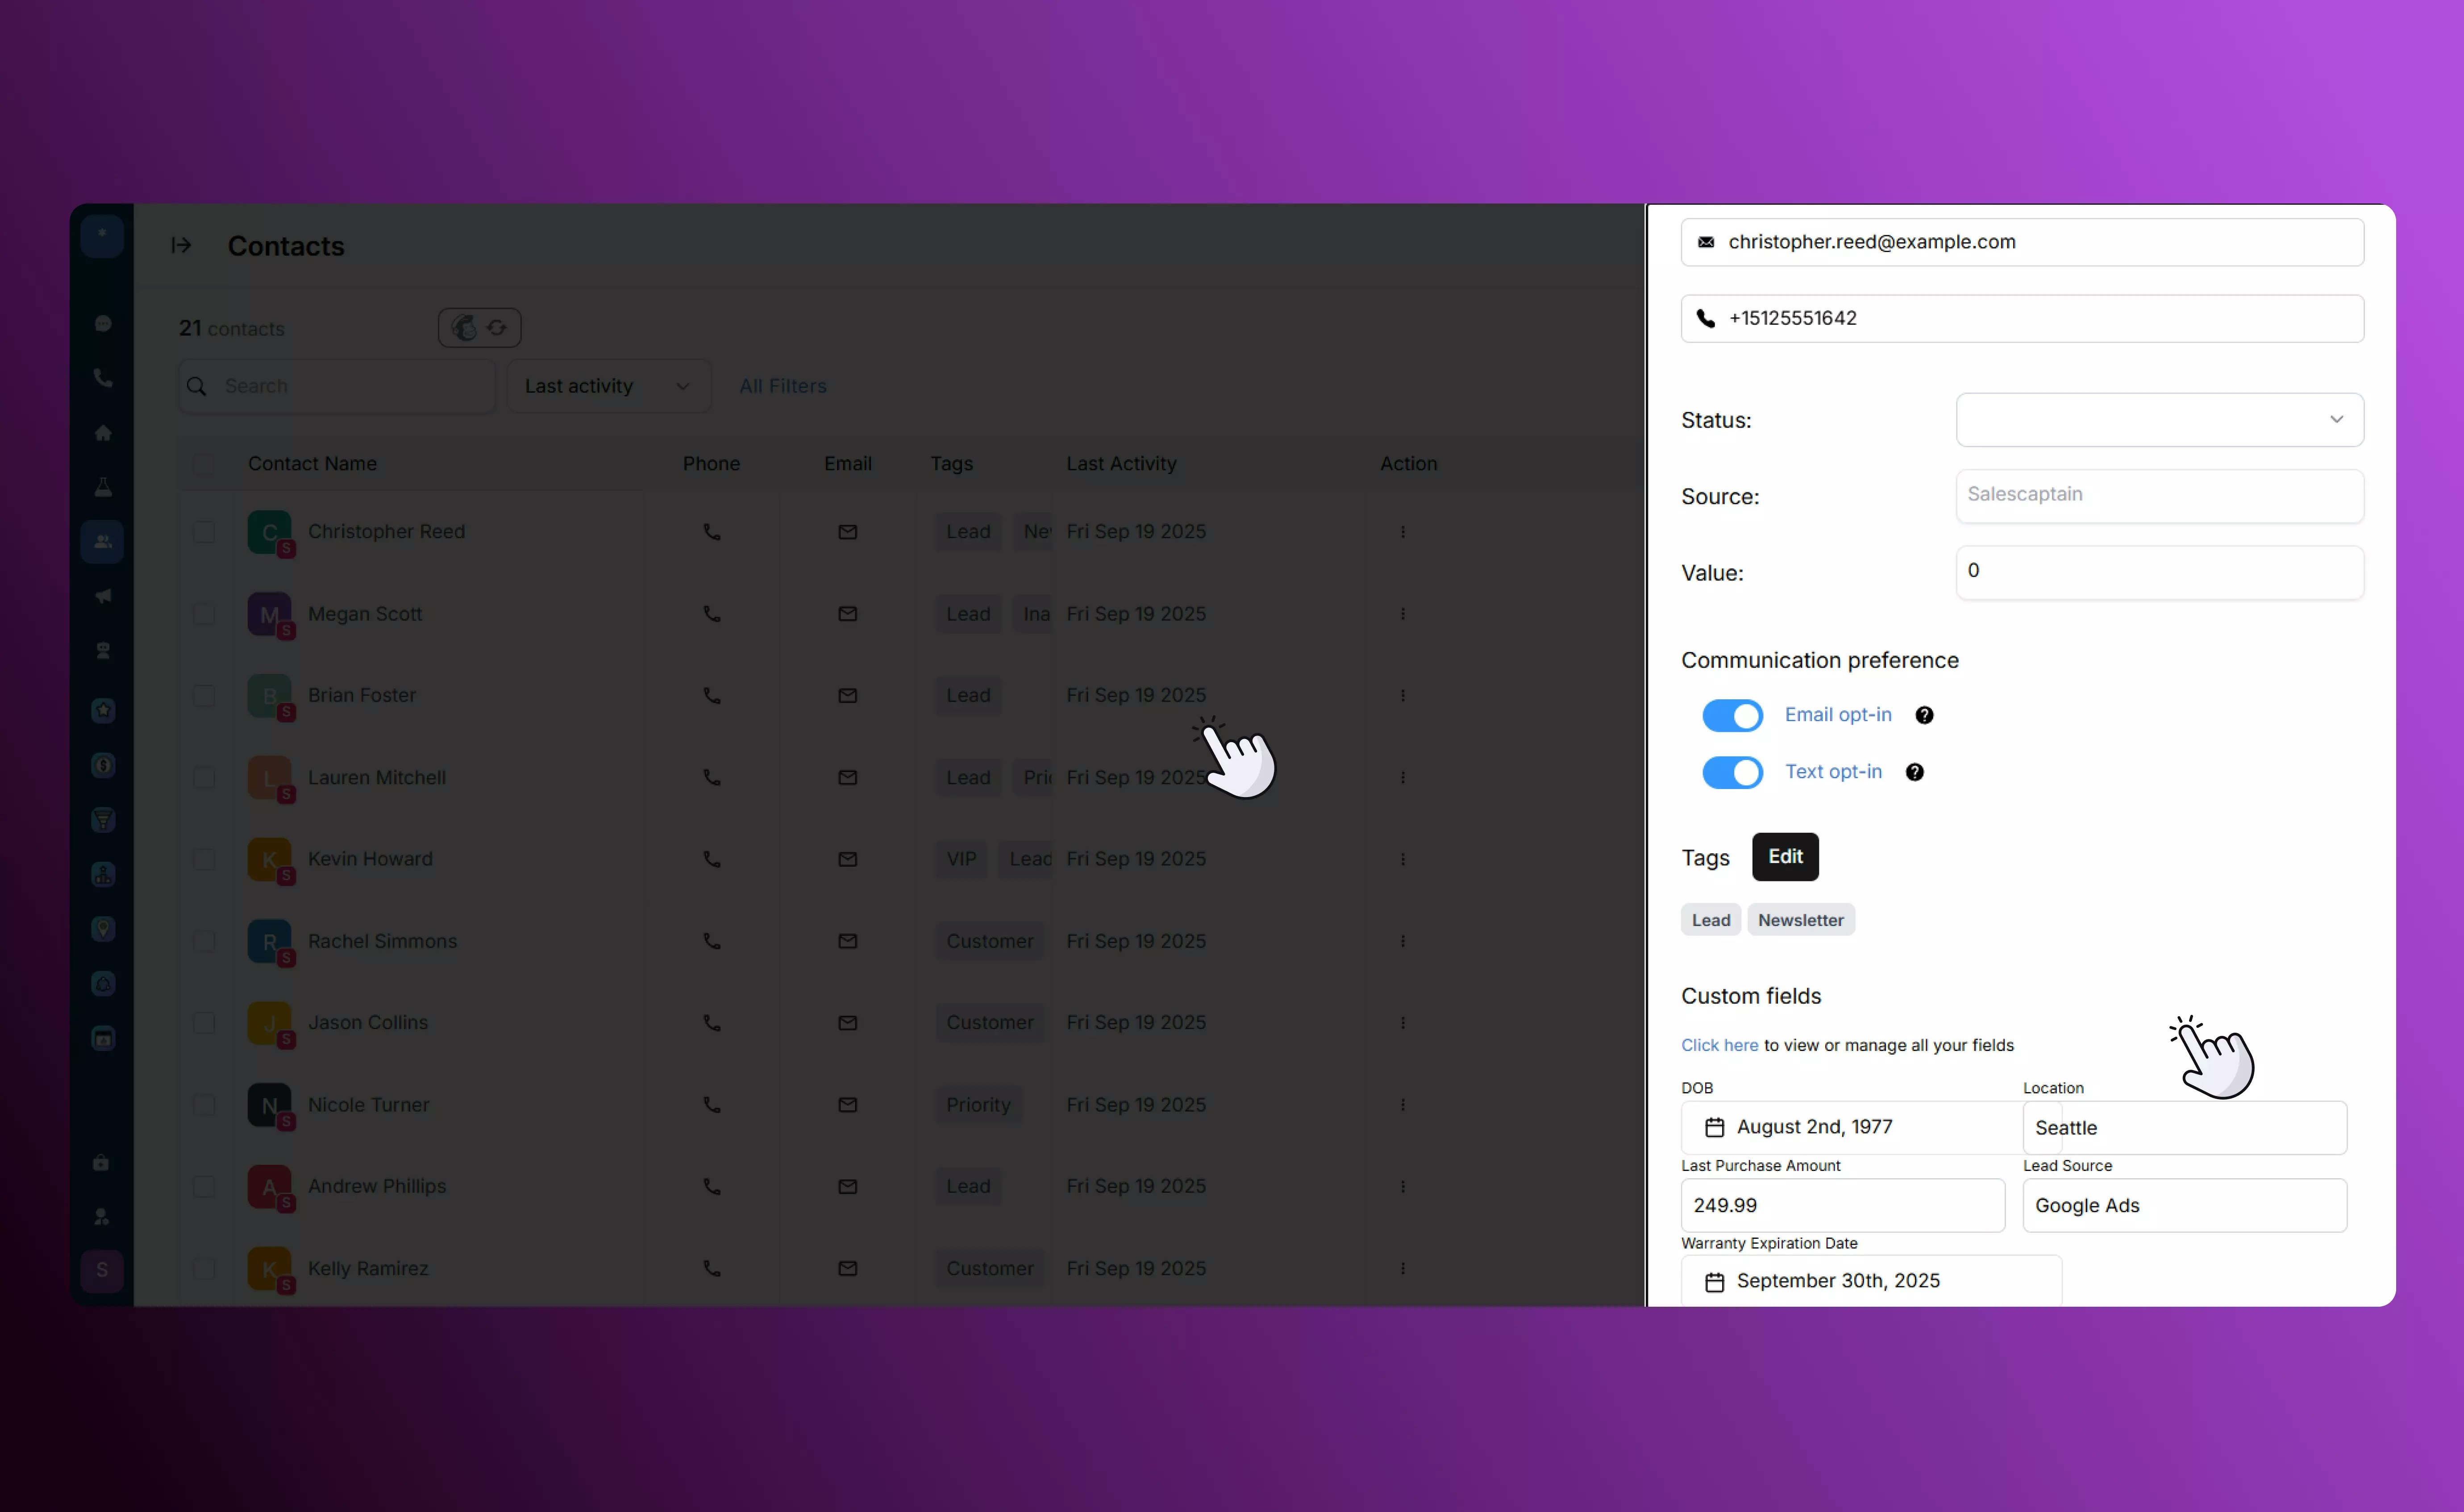
- Each contact holds one value per custom field (for example, one “Purchase Amount” per contact).
- You can define as many different custom fields as your business needs.
- When adding or editing a contact, your custom fields appear automatically for you to input values.
Best Practices
- Plan ahead: decide which data you’ll want for future campaigns so your fields stay consistent.
- Keep field types consistent (e.g. always use “currency” for amounts). This makes filtering easier later.
- Review and clean up unused custom fields periodically to keep your data organized.